How can I send a survey through Email?
You can go to:
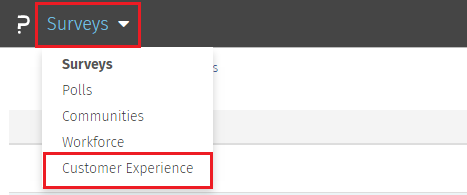
- Step 1: Login >> Customer Experience
- Step 2: Click on Add Survey and select the Email.
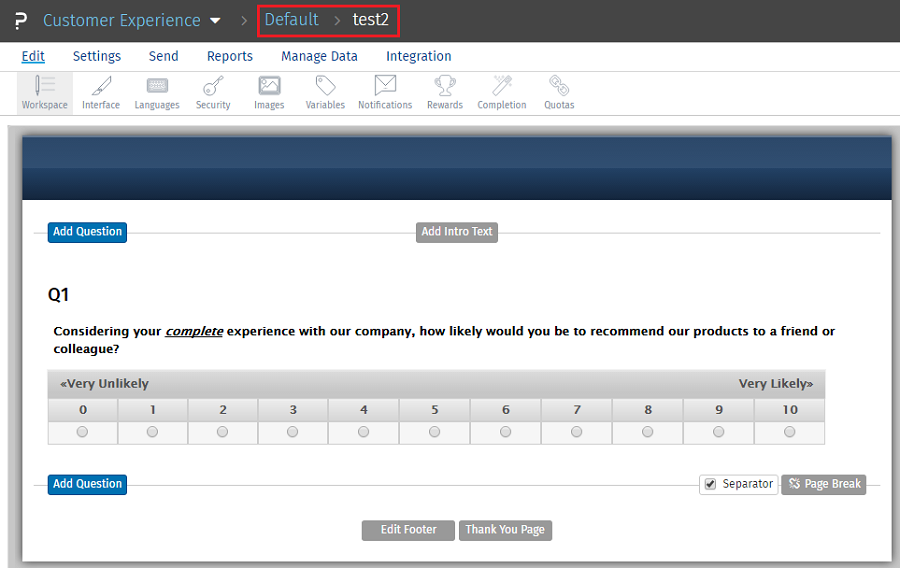
- Step 3: After creating the survey you will get redirected into the survey with a NPS question. You can make any changes in the look and feel.
- Step 4: Once all changes are made you will need to upload contacts to whom the Email will be sent. Click on the name of the folder and go back to the previous page.
- Step 5: Now click on Customer Experience >> Business Data >> Transactions
- Step 6: Click on Import Transactions >> Select Manual Import OR Excel Import

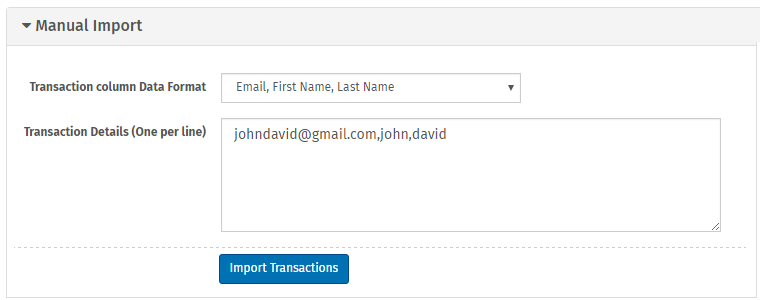
- Step 6.a: Manual Import:
- Select Business unit: There is always one default business unit.
- Transaction column Data Format: There are different formats in which you can define your data.
- Transaction details: Based on the format, you can enter all the details. Note: the phone number has to have the country code.

- Step 6.b: Excel Import:
- Create an excel sheet with the following format: Email Address,(Country code) Mobile No,Product,ProductGroup,First Name,Last Name, Transaction Date (mm/dd/yyyy),Custom 1,Custom 2,Custom 3,Custom 4,Custom 5,...,Custom 255
- Select Business unit: There is always a default business unit. Or you can create a new one.
- Choose the excel sheet and import.

- Step 6.a: Manual Import:
- Step 7: Click Continue
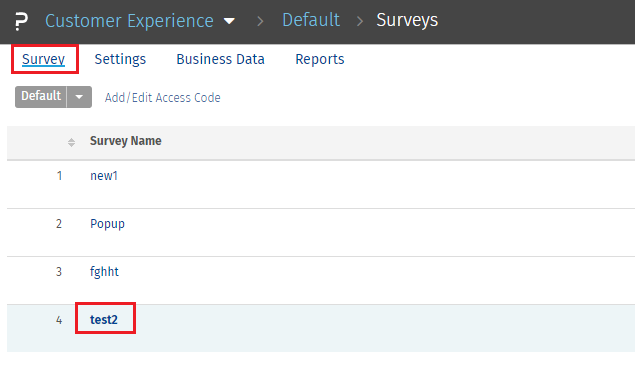
- Step 8: Click on Survey >> Click on the survey you want to send >> Send >> Send
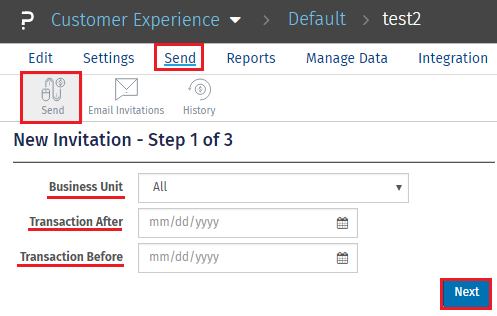
- Step 9: New Invitation -
- Select business unit.
- Transaction after and before date : This identifies when you uploaded the contacts.

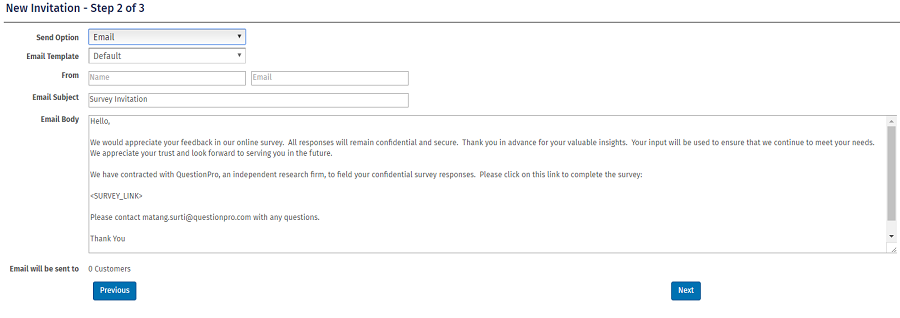
- Step 10: Select the Send Option as "Email" and make changes in Email Body.
- Step 11: Next


You may also be interested in...


