
- Custom Variable Widget
- Priority Matrix
- Heatmap Widget
- Grid Widget
- Weighted mean widget
- Comment List widget
- Widget Filters
- Ranking List Widget
- Distribution Chart
- NPS Widget
- Trend Widget
- Word Cloud Widget
- Cross tab widget
- KPI Comparison Widget
- Bubble chart
- Custom Metric Trend Chart
- Trend Comparison Widget
Facebook Reviews Configuration
How to configure Facebook Reviews integration?
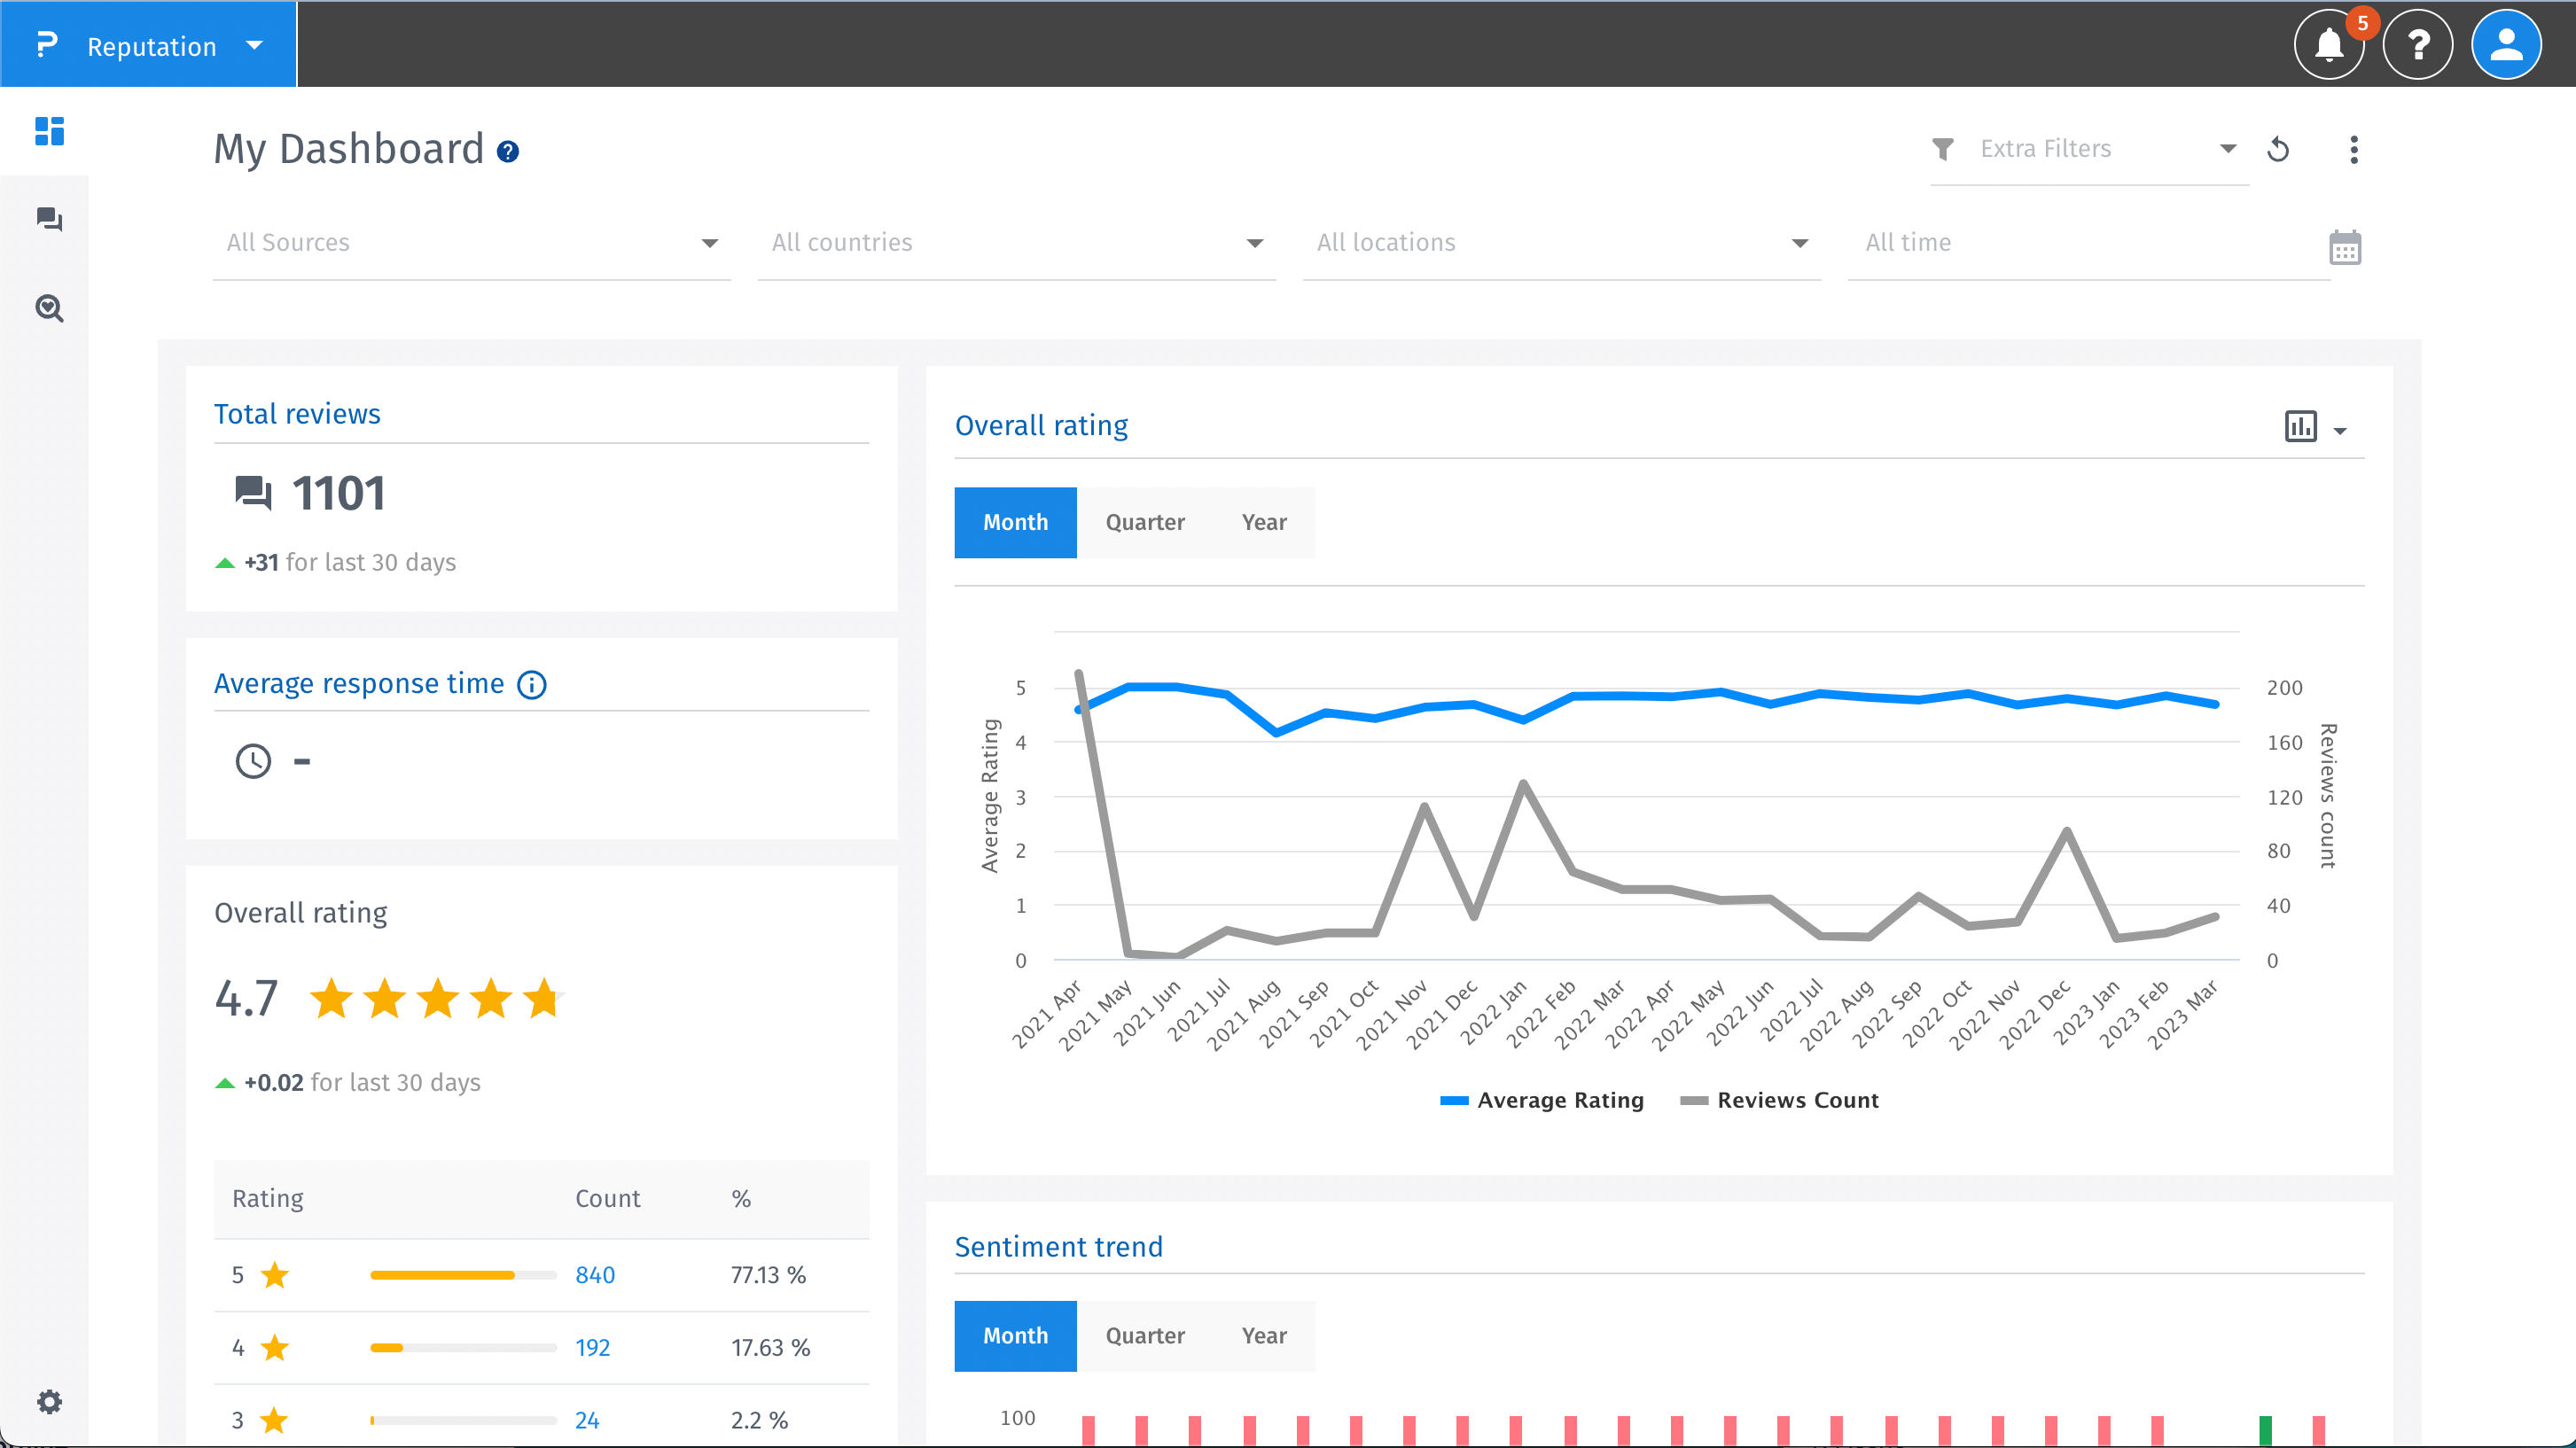
- In the main page go to the bottom of the left side. Click Settings.
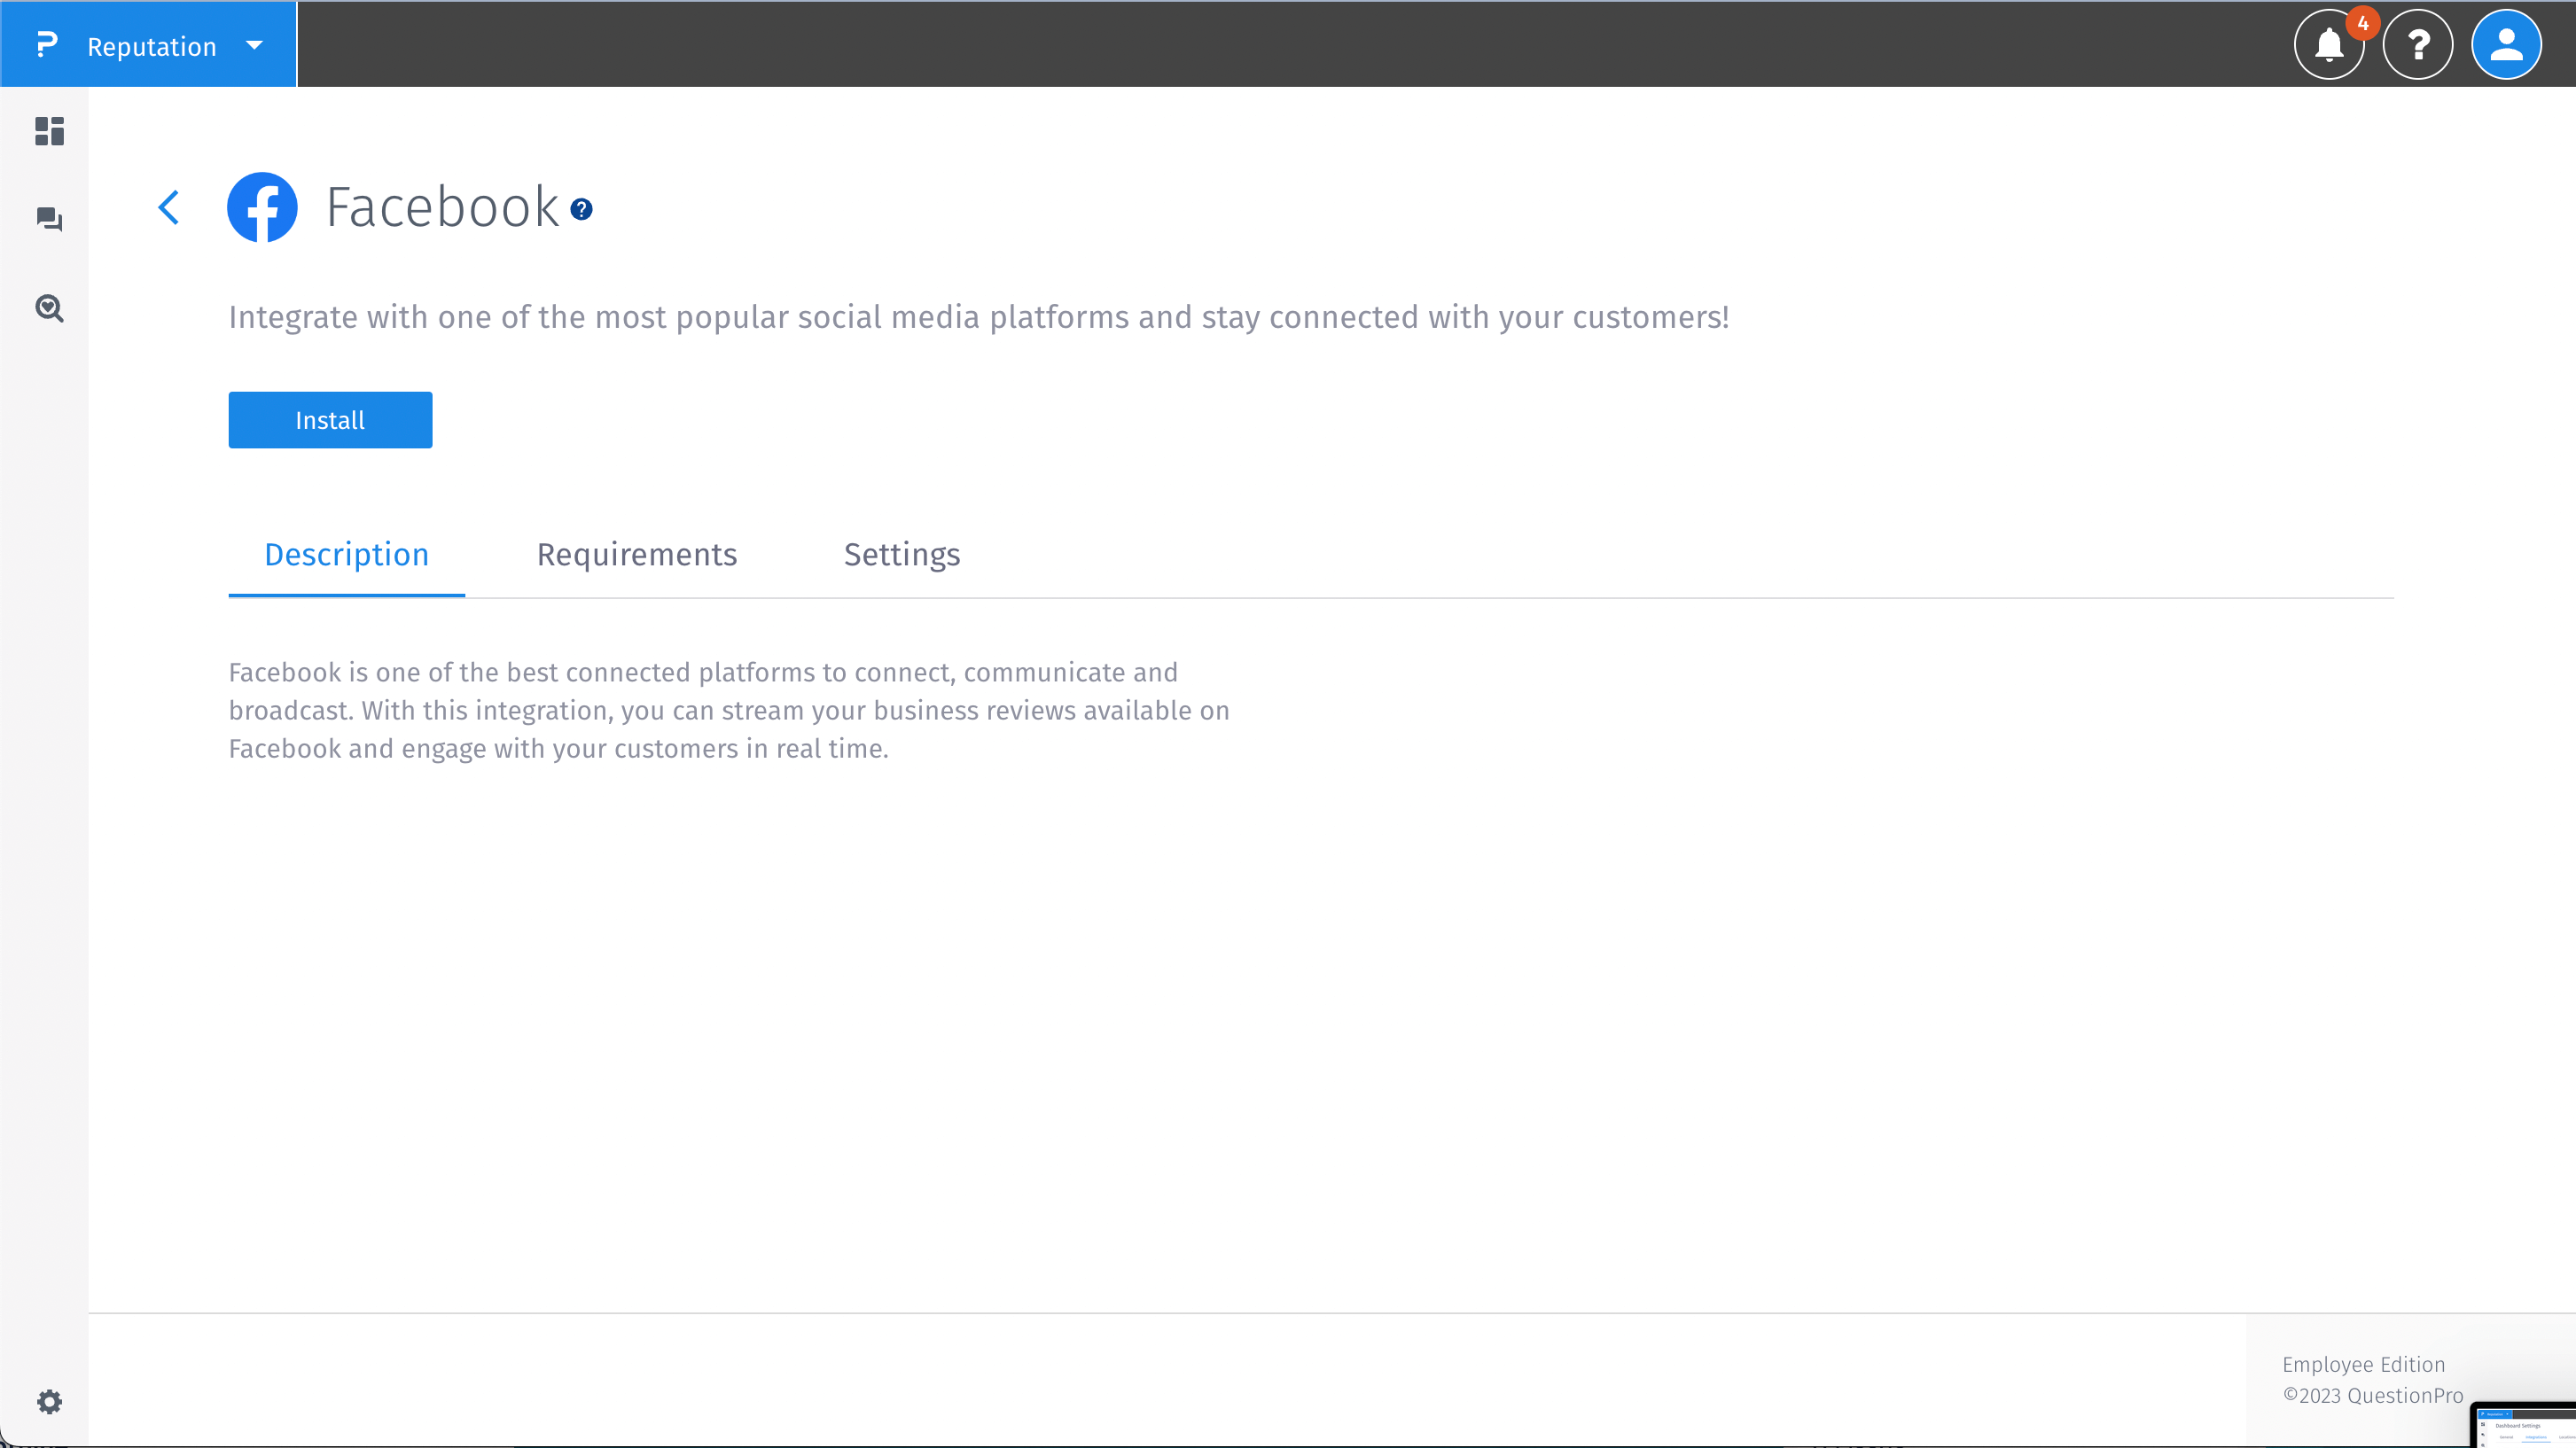
- After that the Dashboard Settings will open and you have to go to the Integrations tab. You will see all integrations here. Click at Facebook Reviews integration.
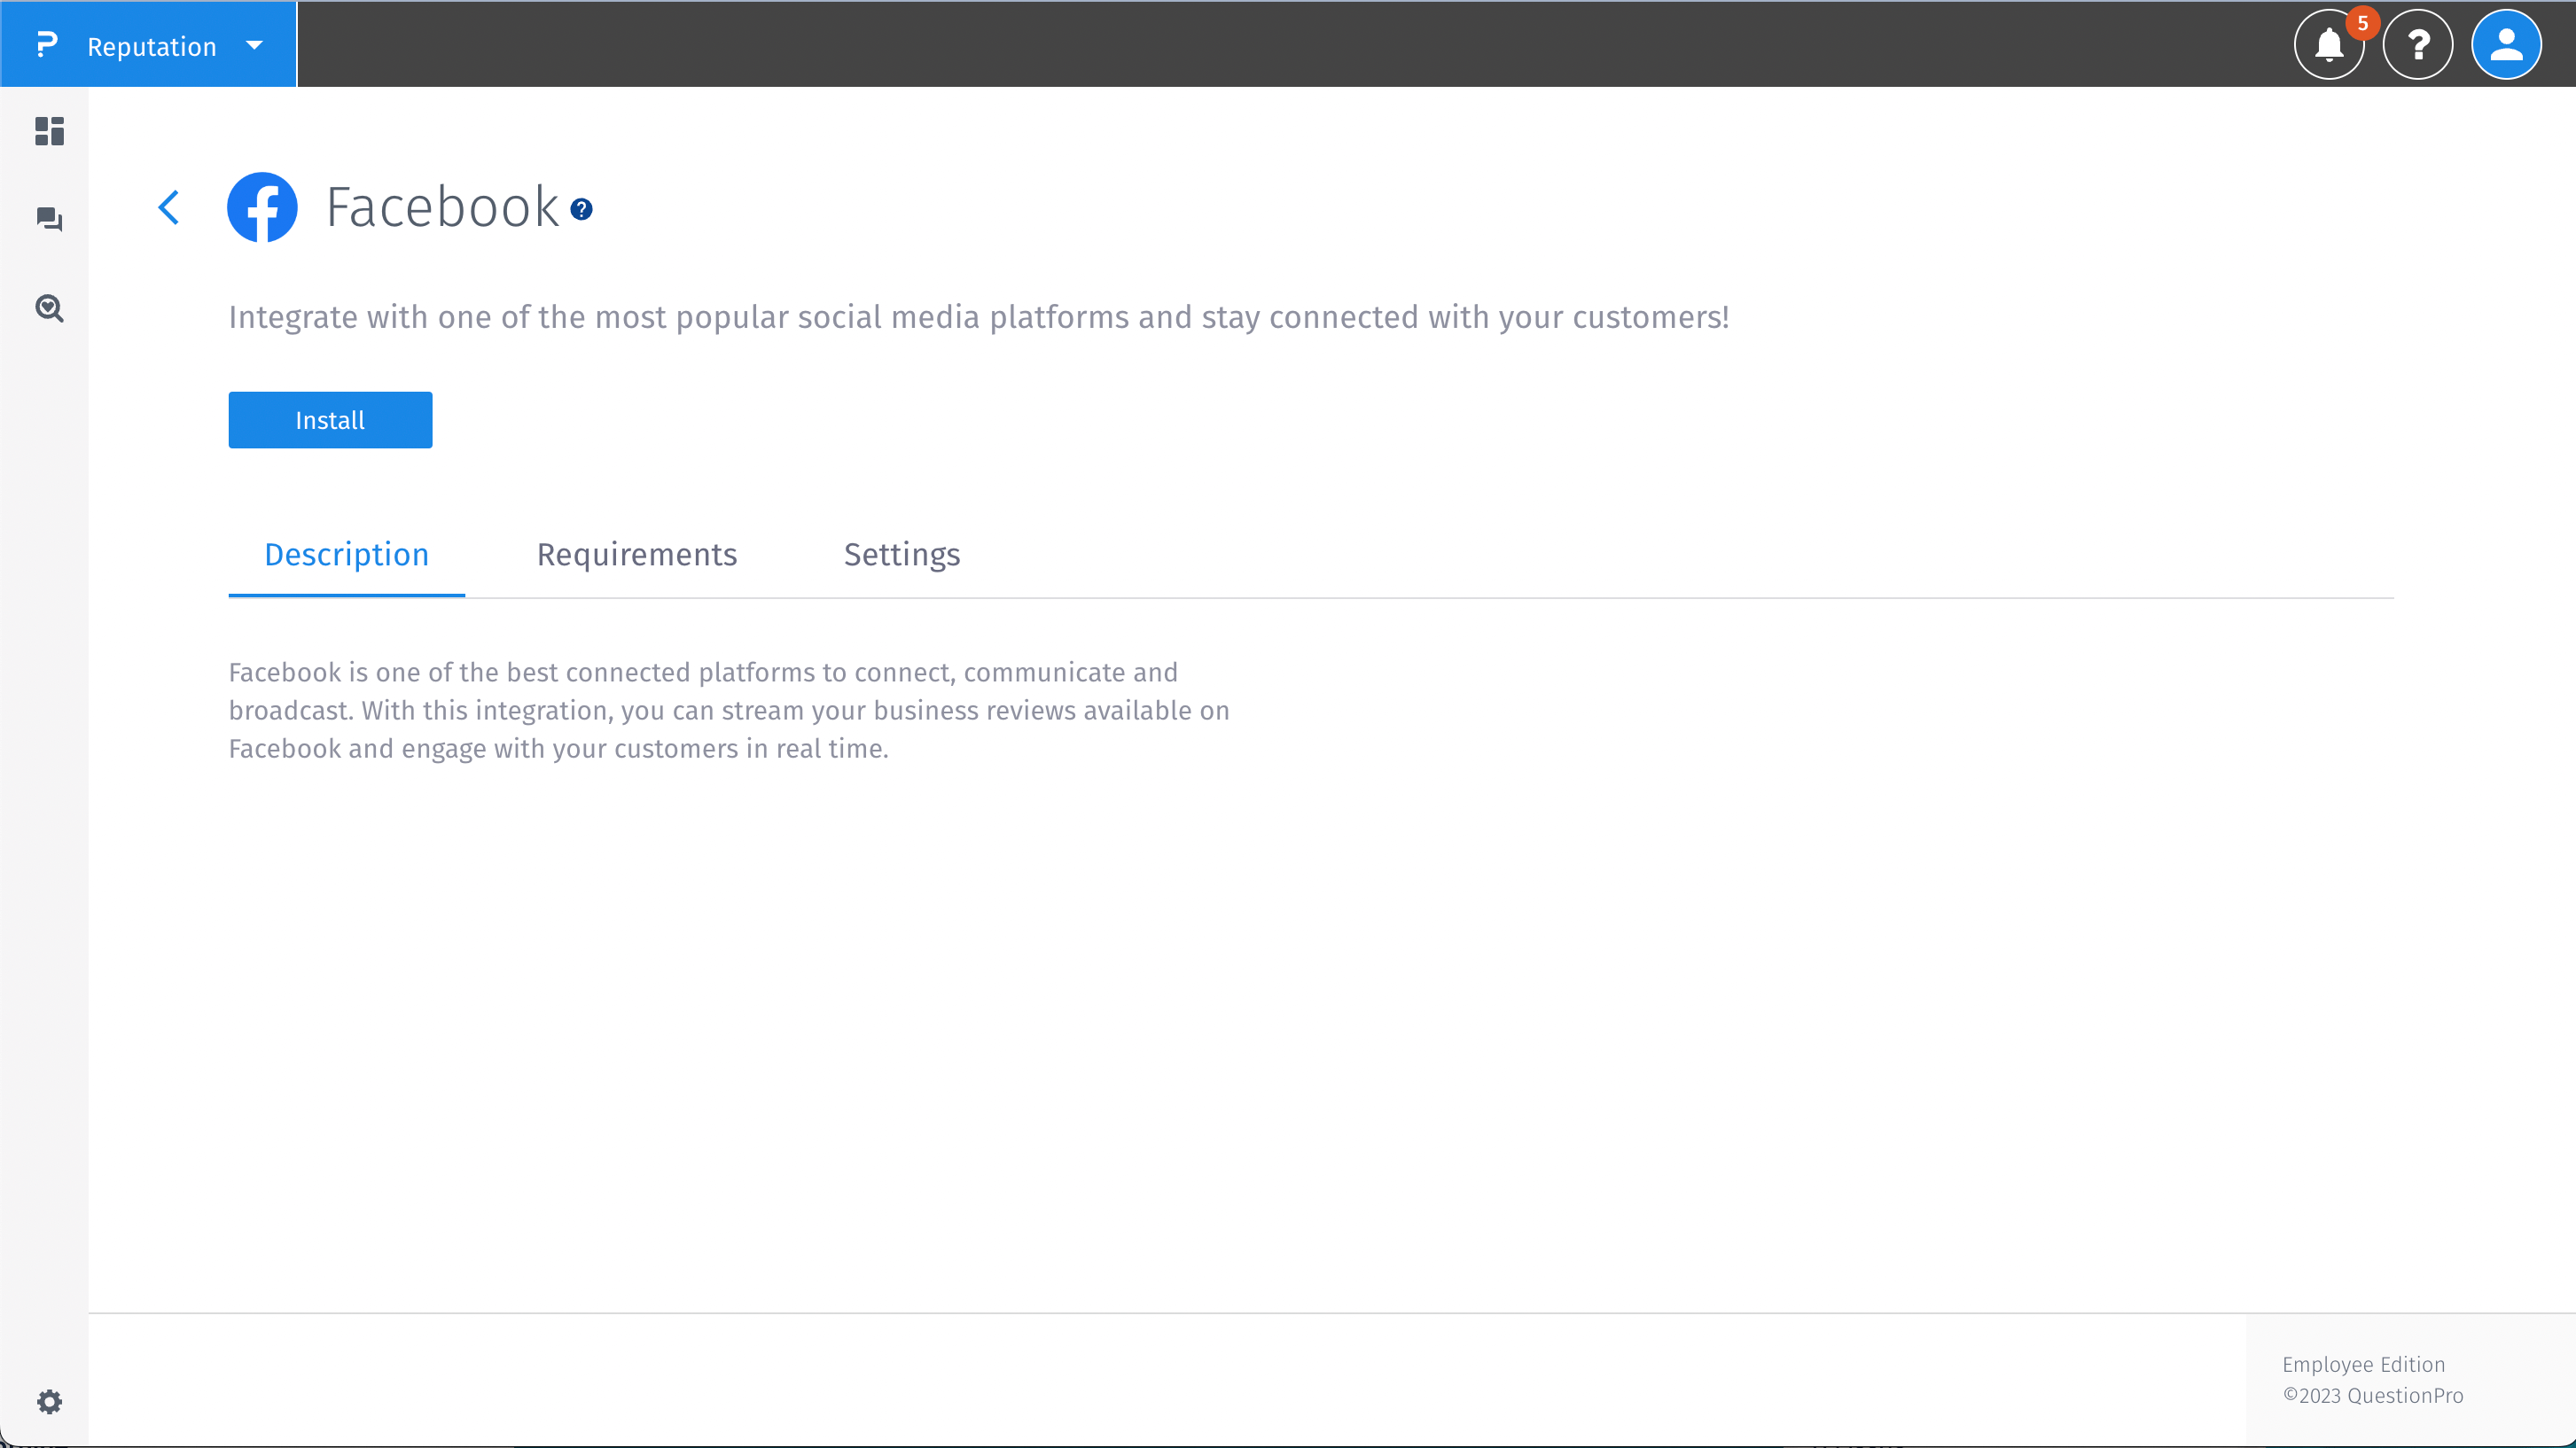
- Now you can install Facebook Reviews integration by clicking on the Install button.
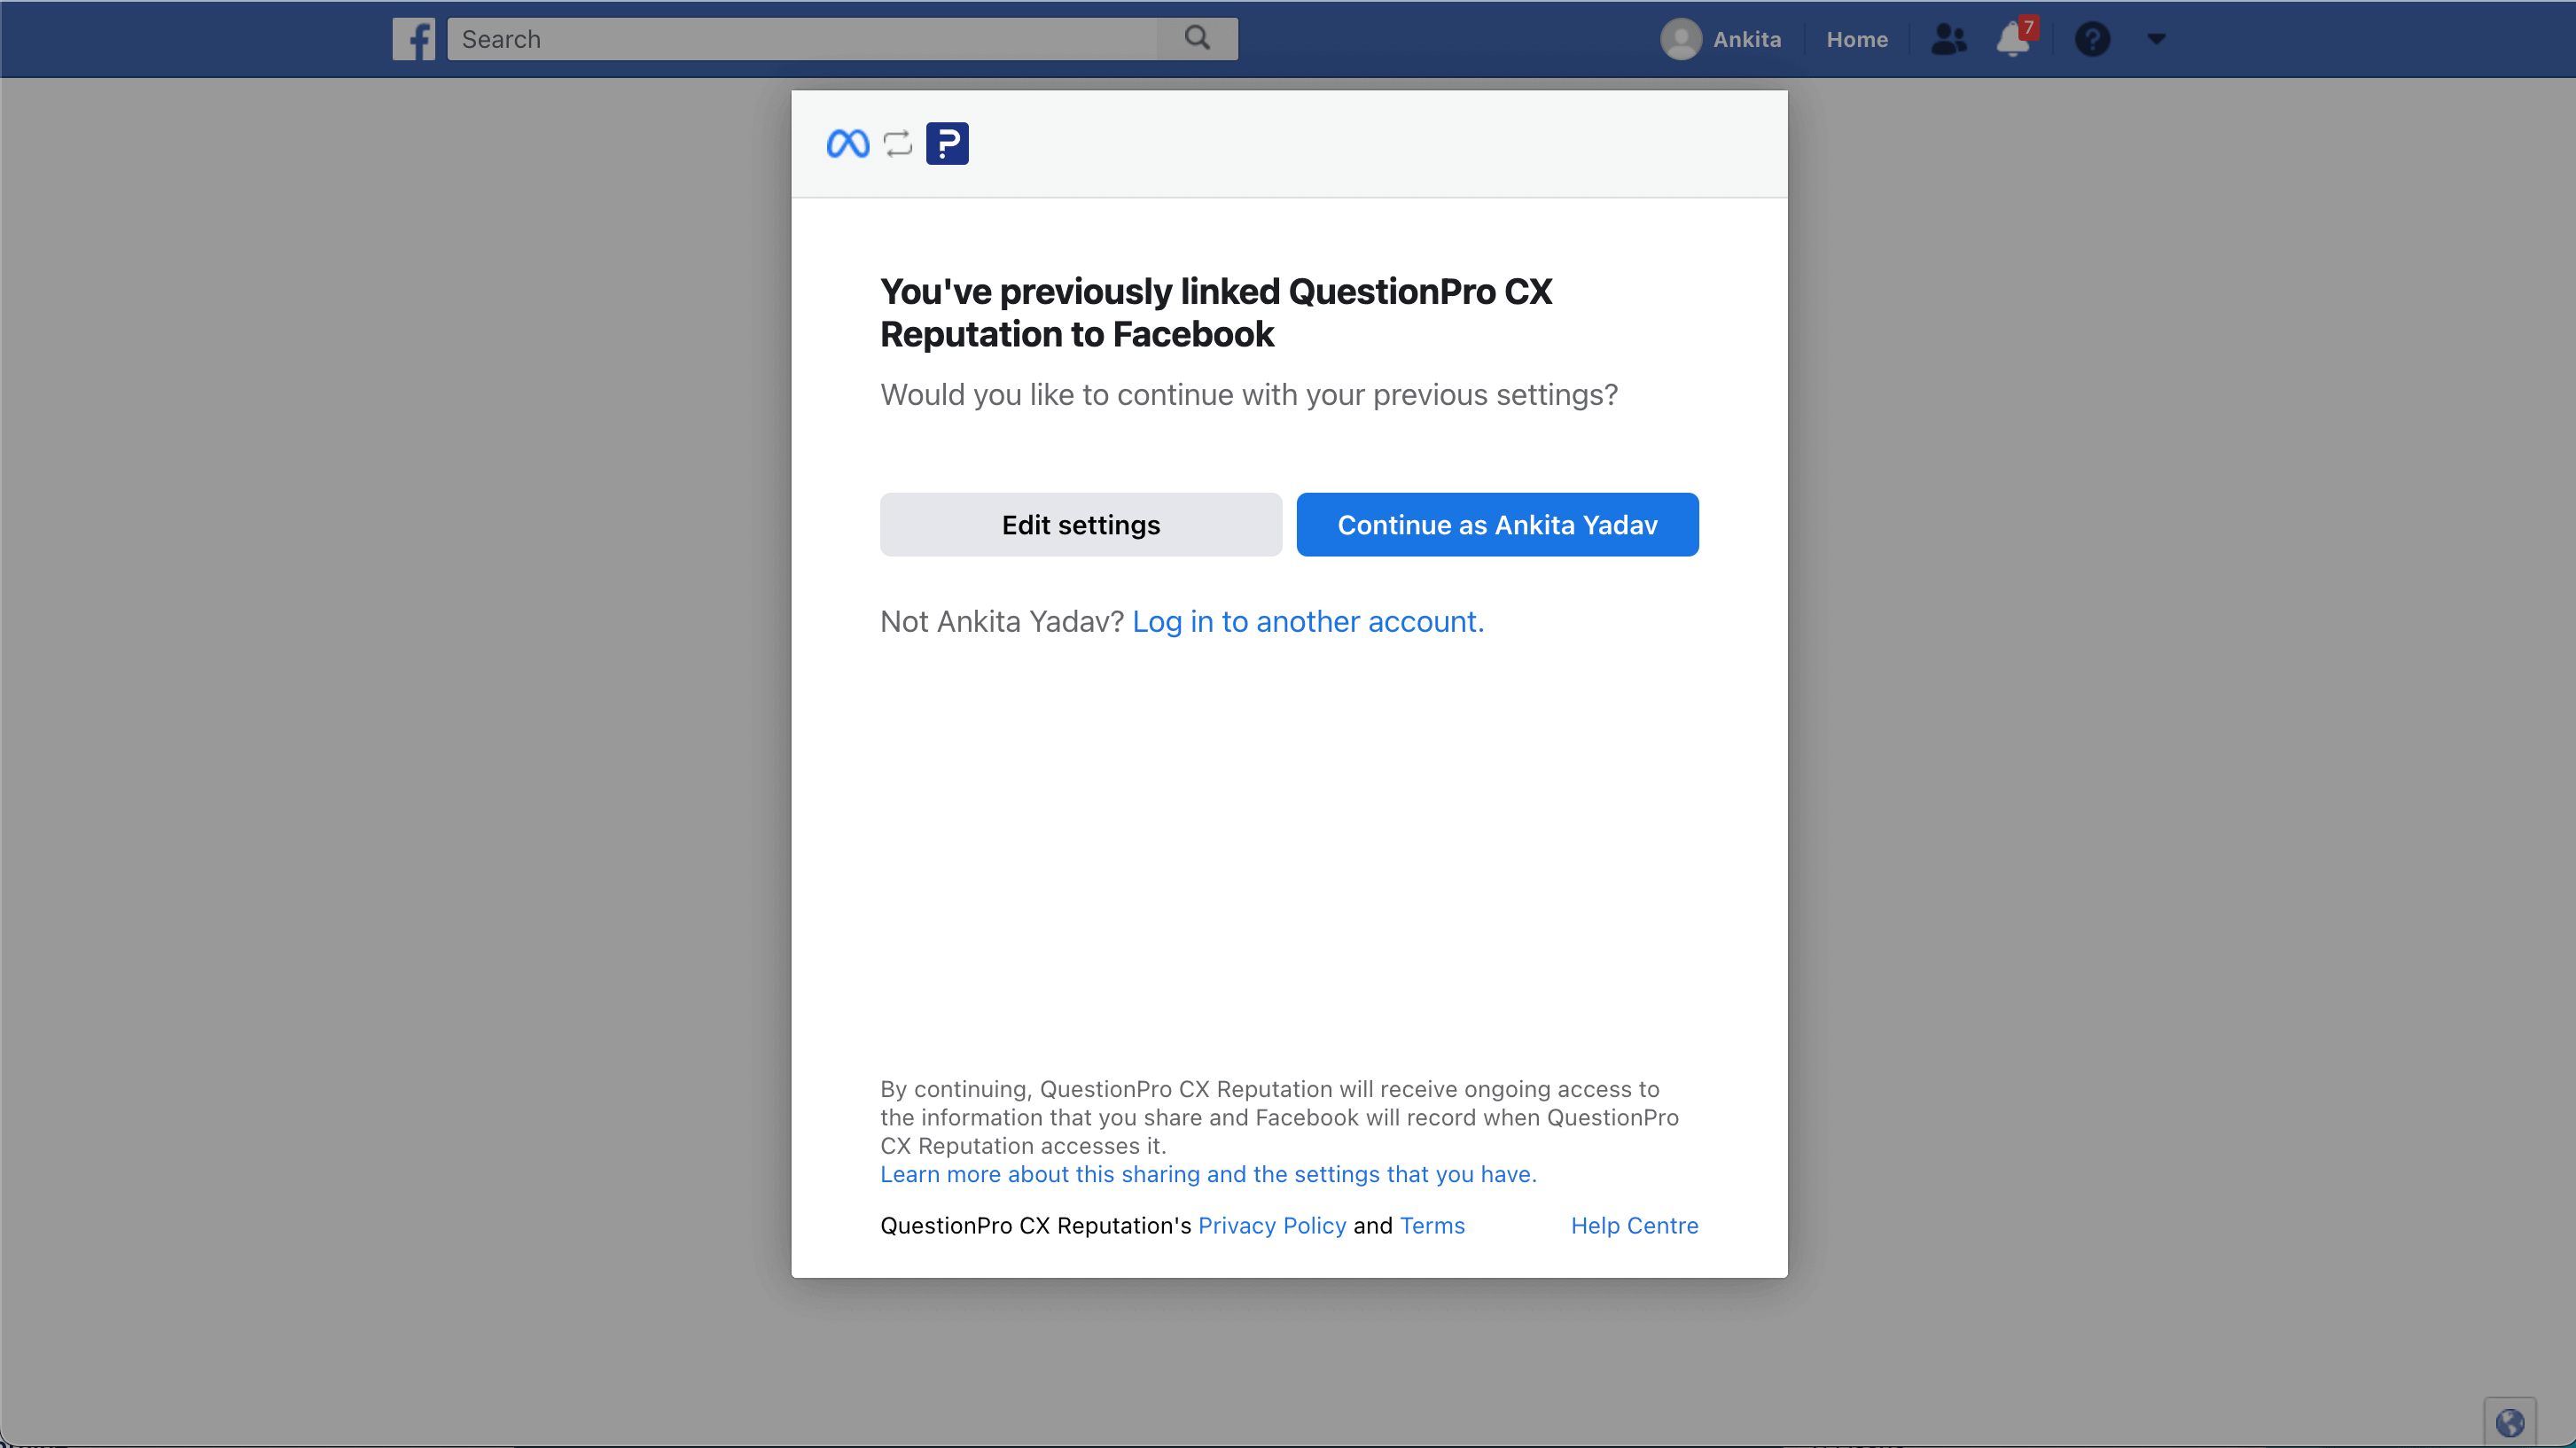
- After clicking on the Install button, you will have to sign in with your account. Then you will be notified with a popup that you are connected to Facebook Reviews.
- This means that you have installed Facebook Reviews integration, but to get the data you also need to make manual sync after installation.
- The manual sync is needed only once after installation later on, the sync happens periodically.

How to sync data from the integrations?
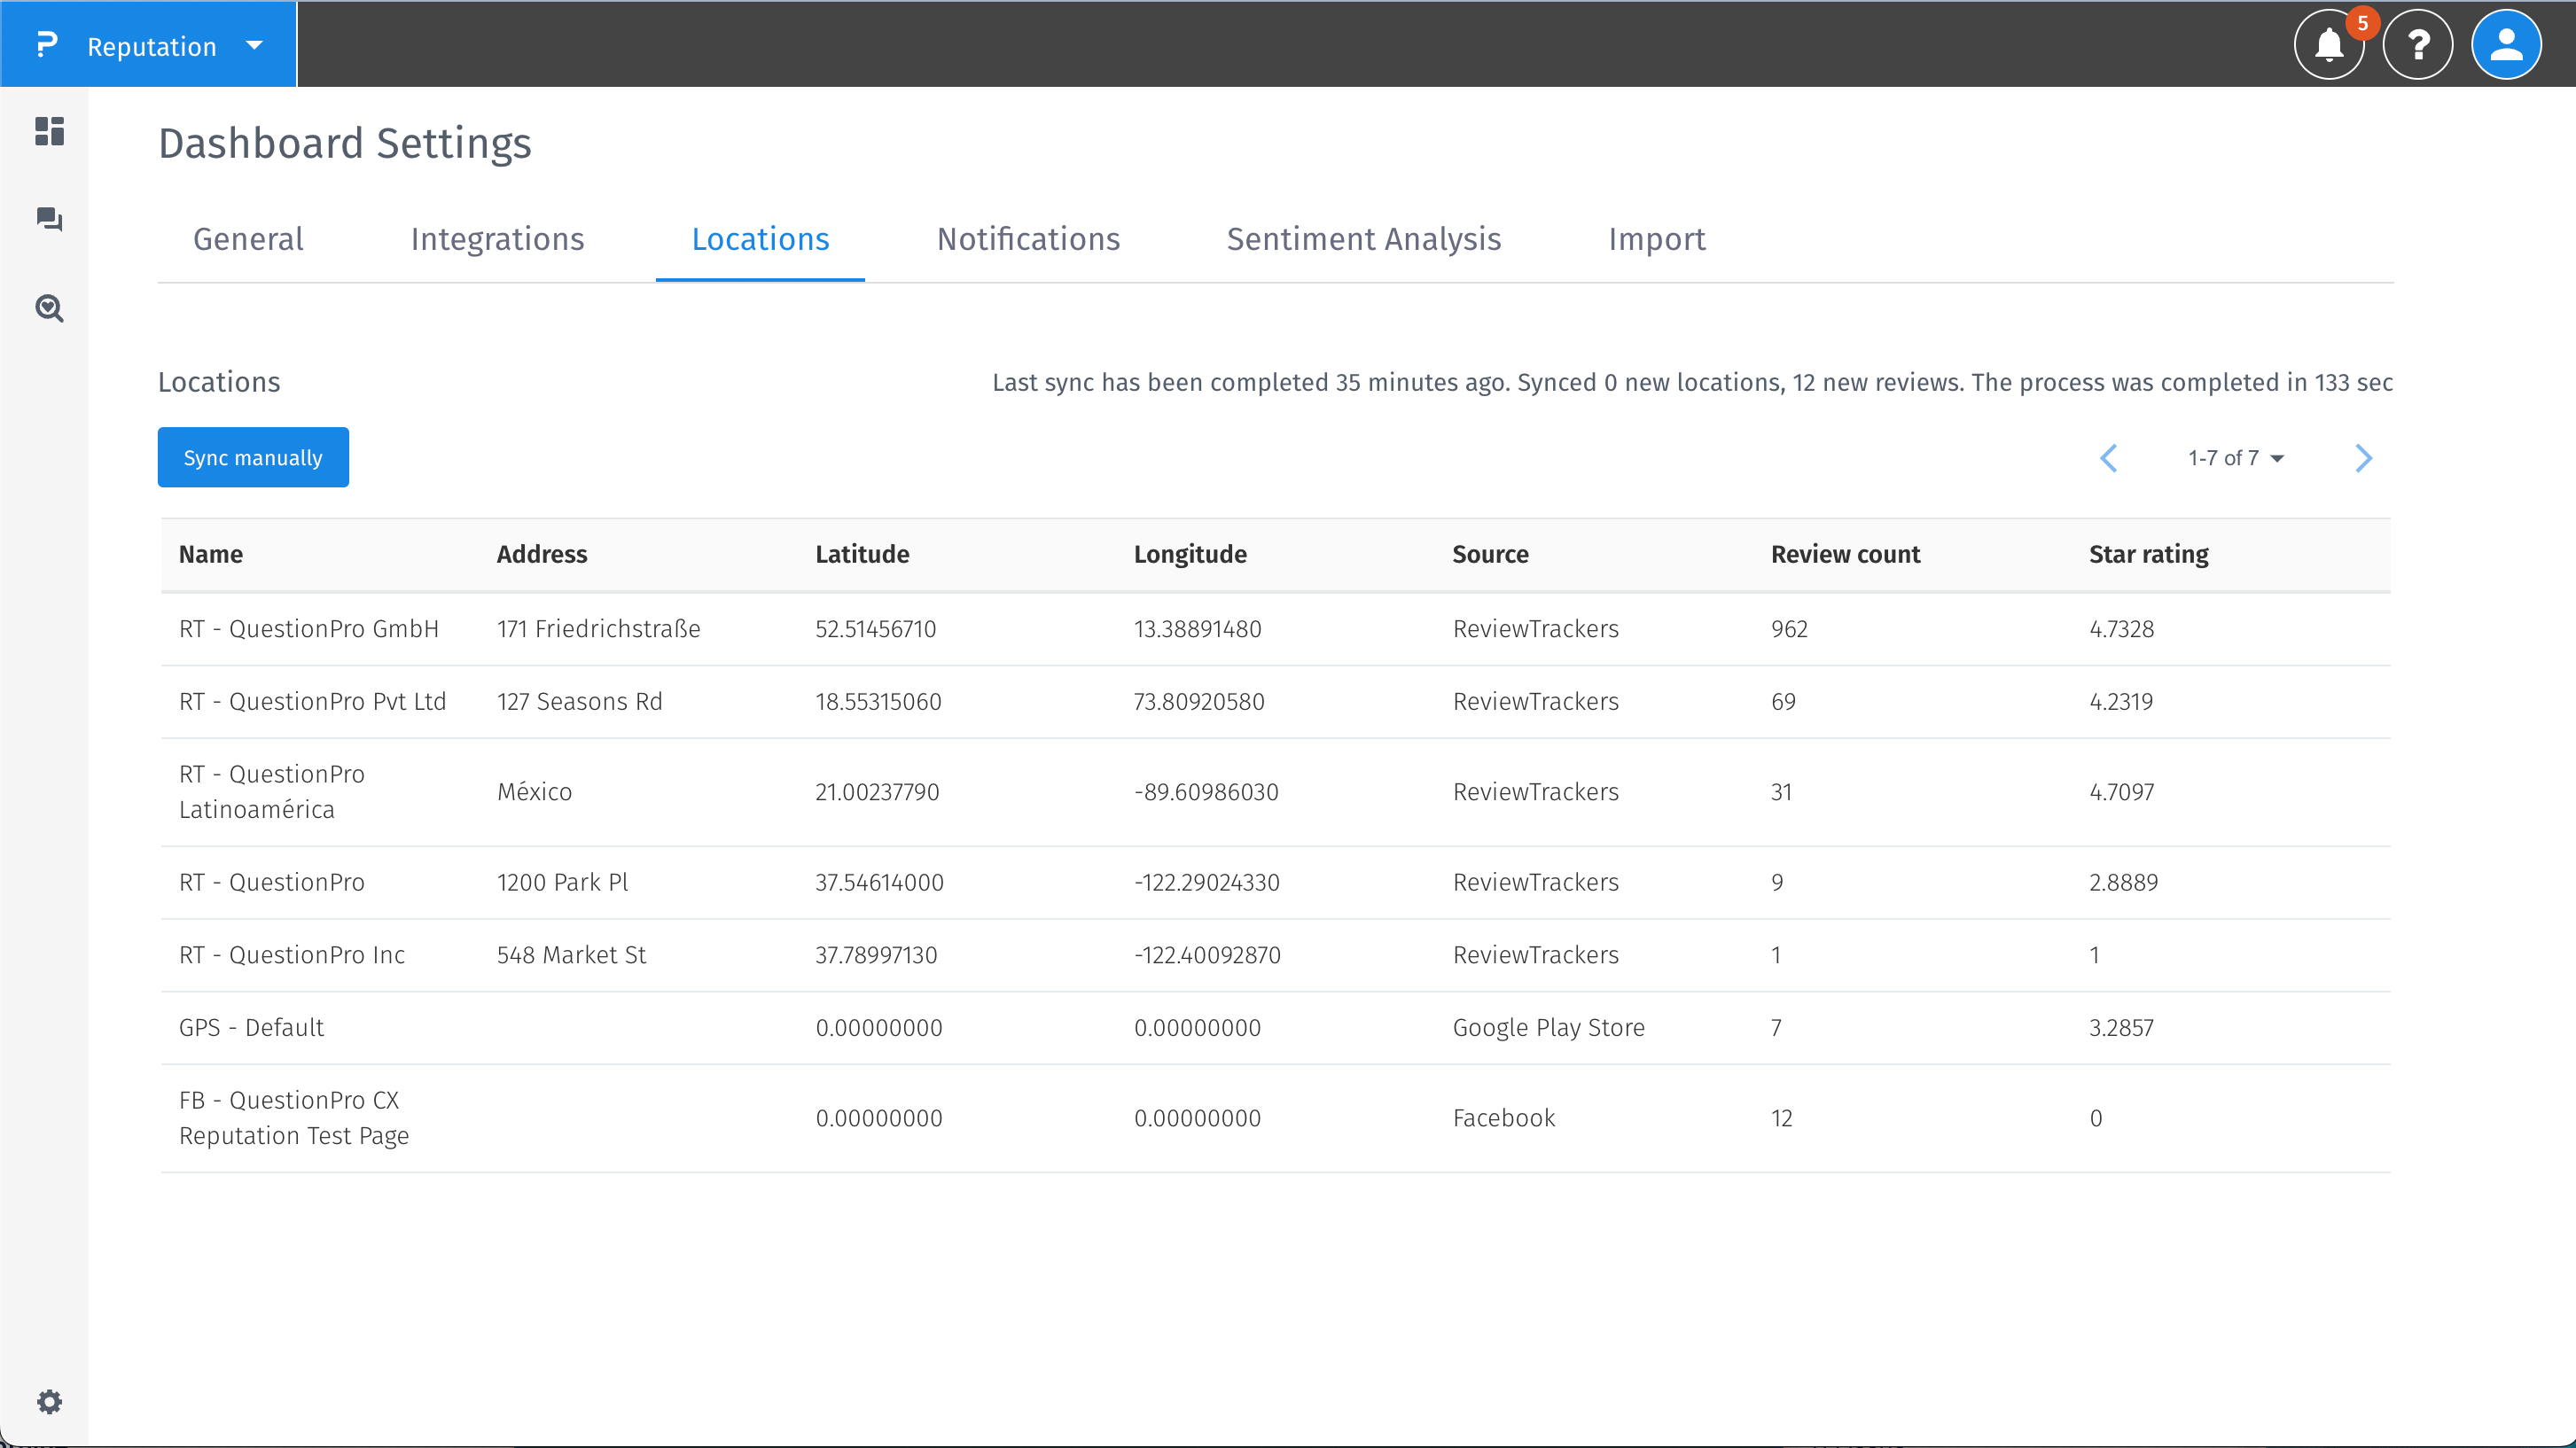
- Go back to Dashboard Settings and you have to go to the Locations tab. Click on the Sync manually button. After clicking on it a popup will notify you that the Sync process started.
- Refresh your page and you will see that Facebook Reviews has appeared and the data are synced.
How to uninstall Facebook Reviews integration?
- Go to Settings.
- Go to the Integrations tab.
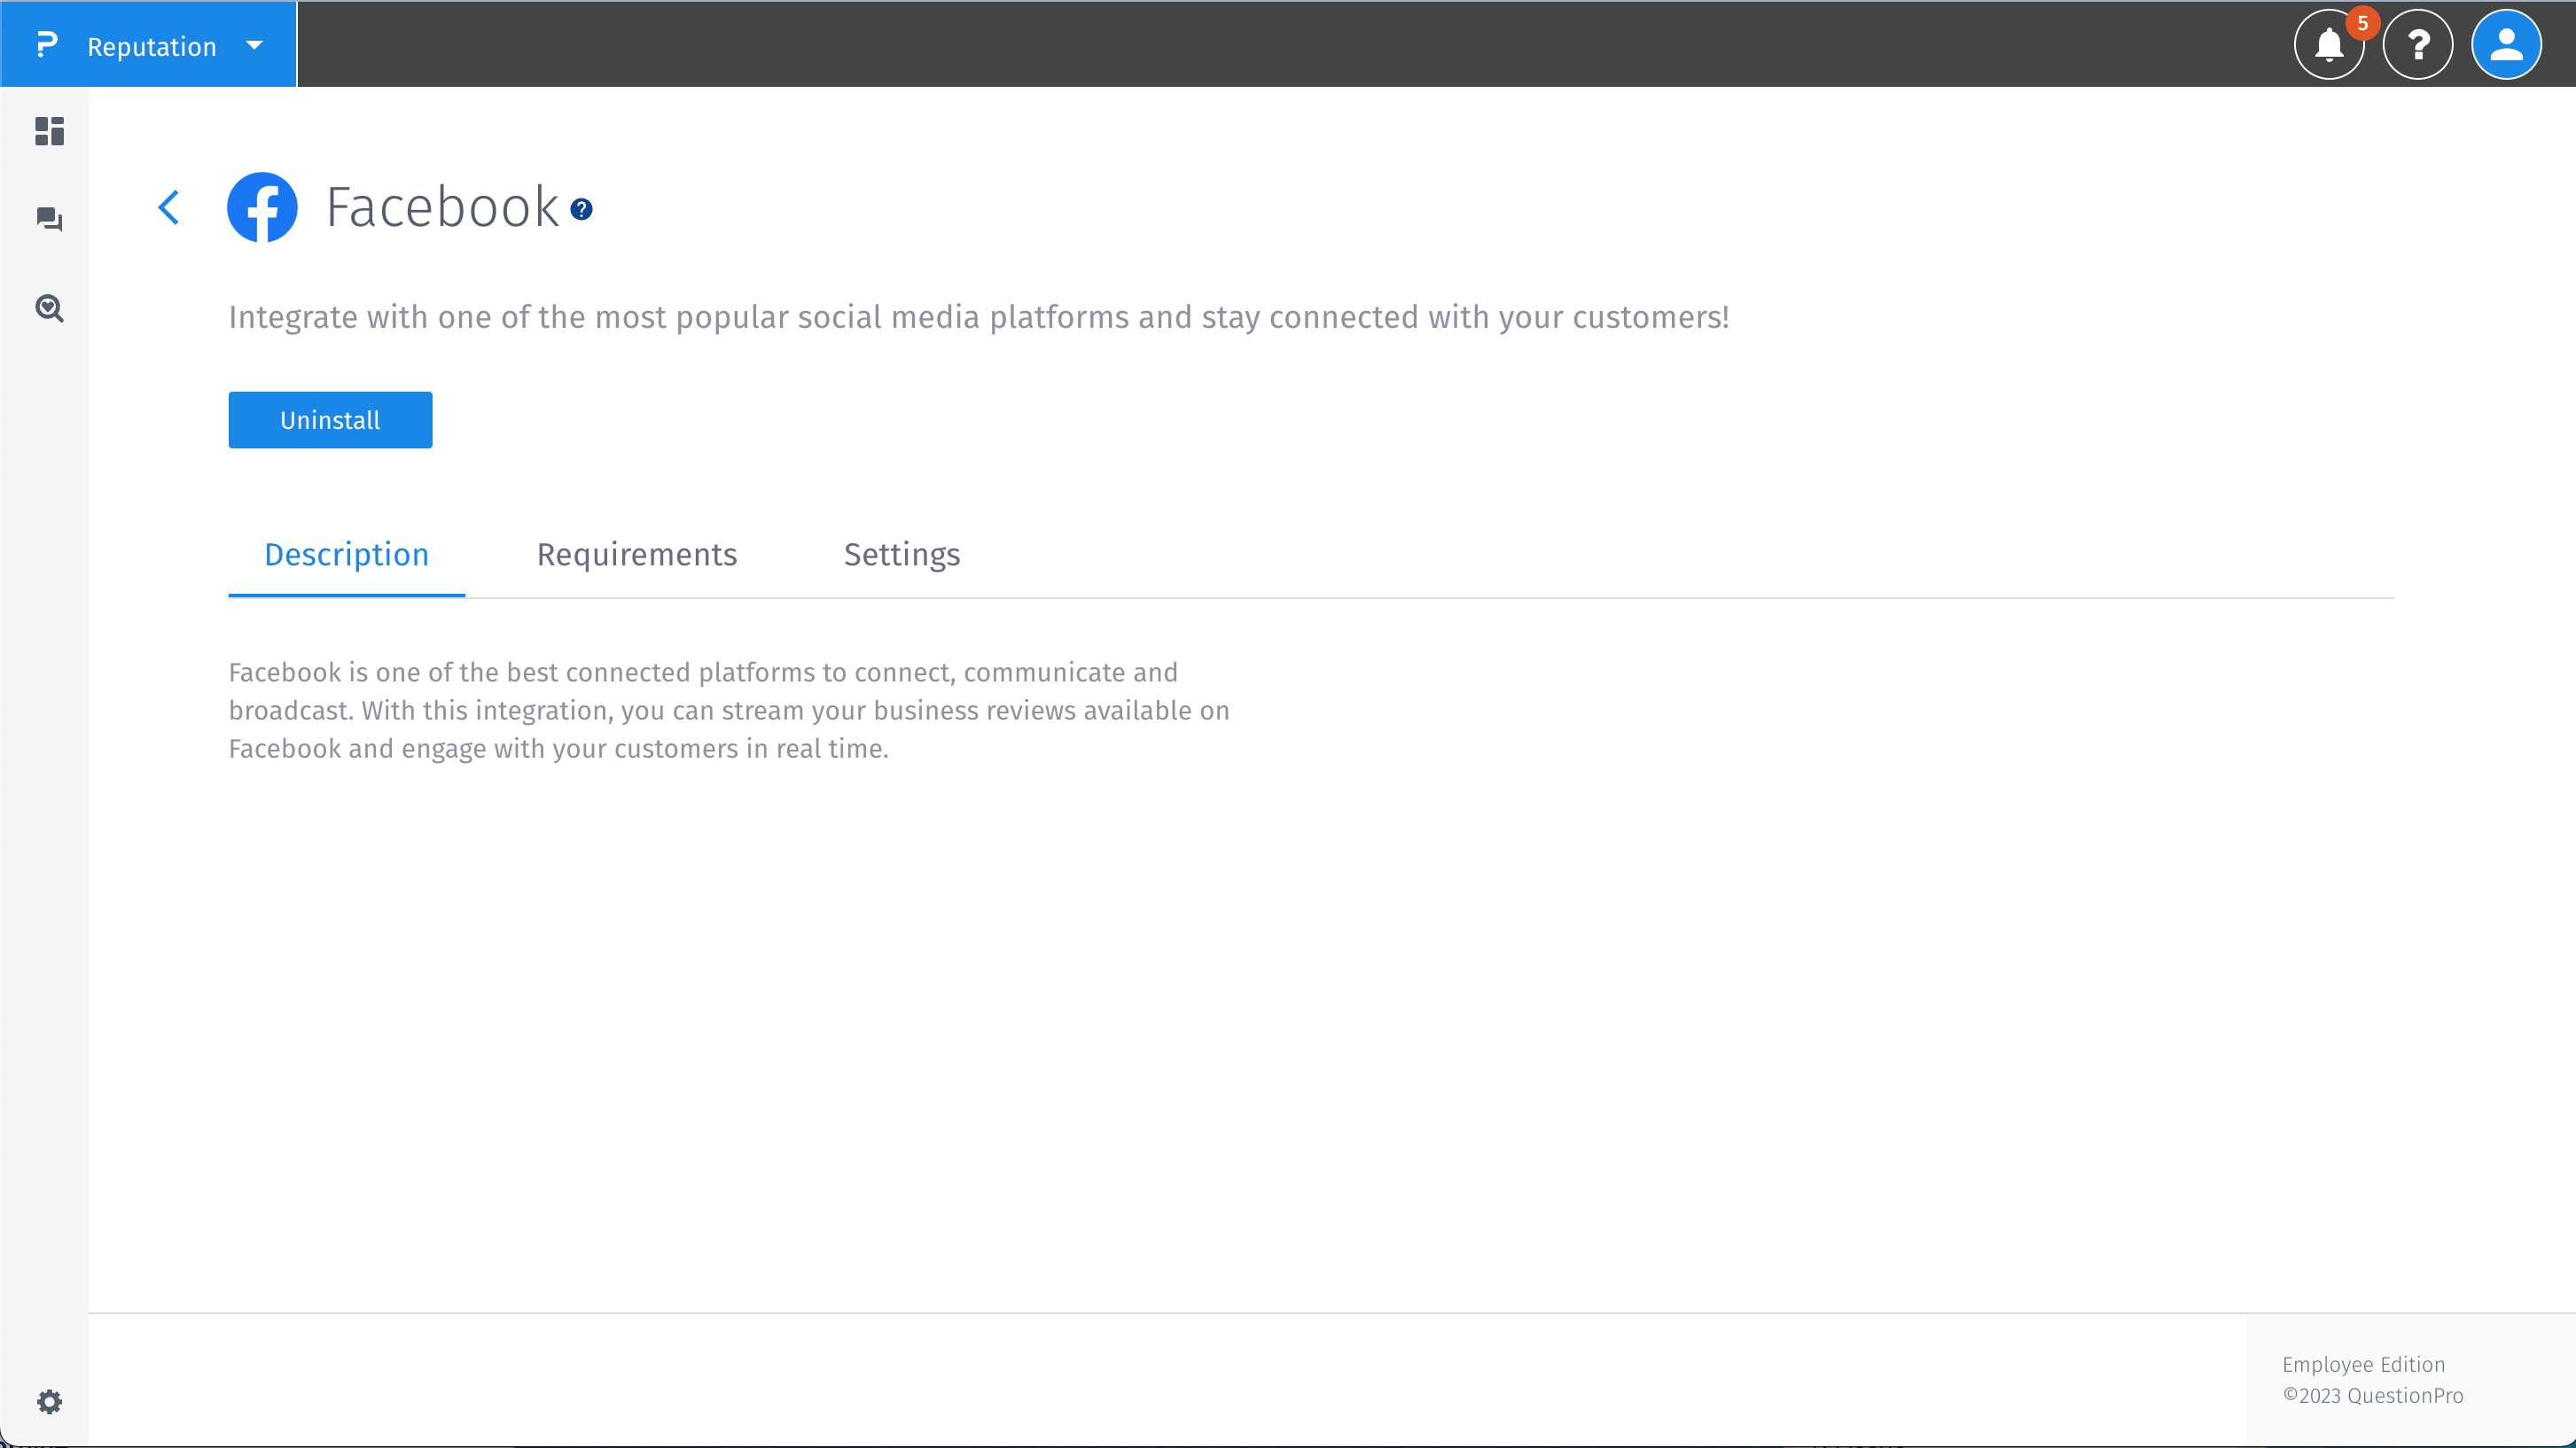
- Go to Facebook Reviews.Click the Uninstall button.
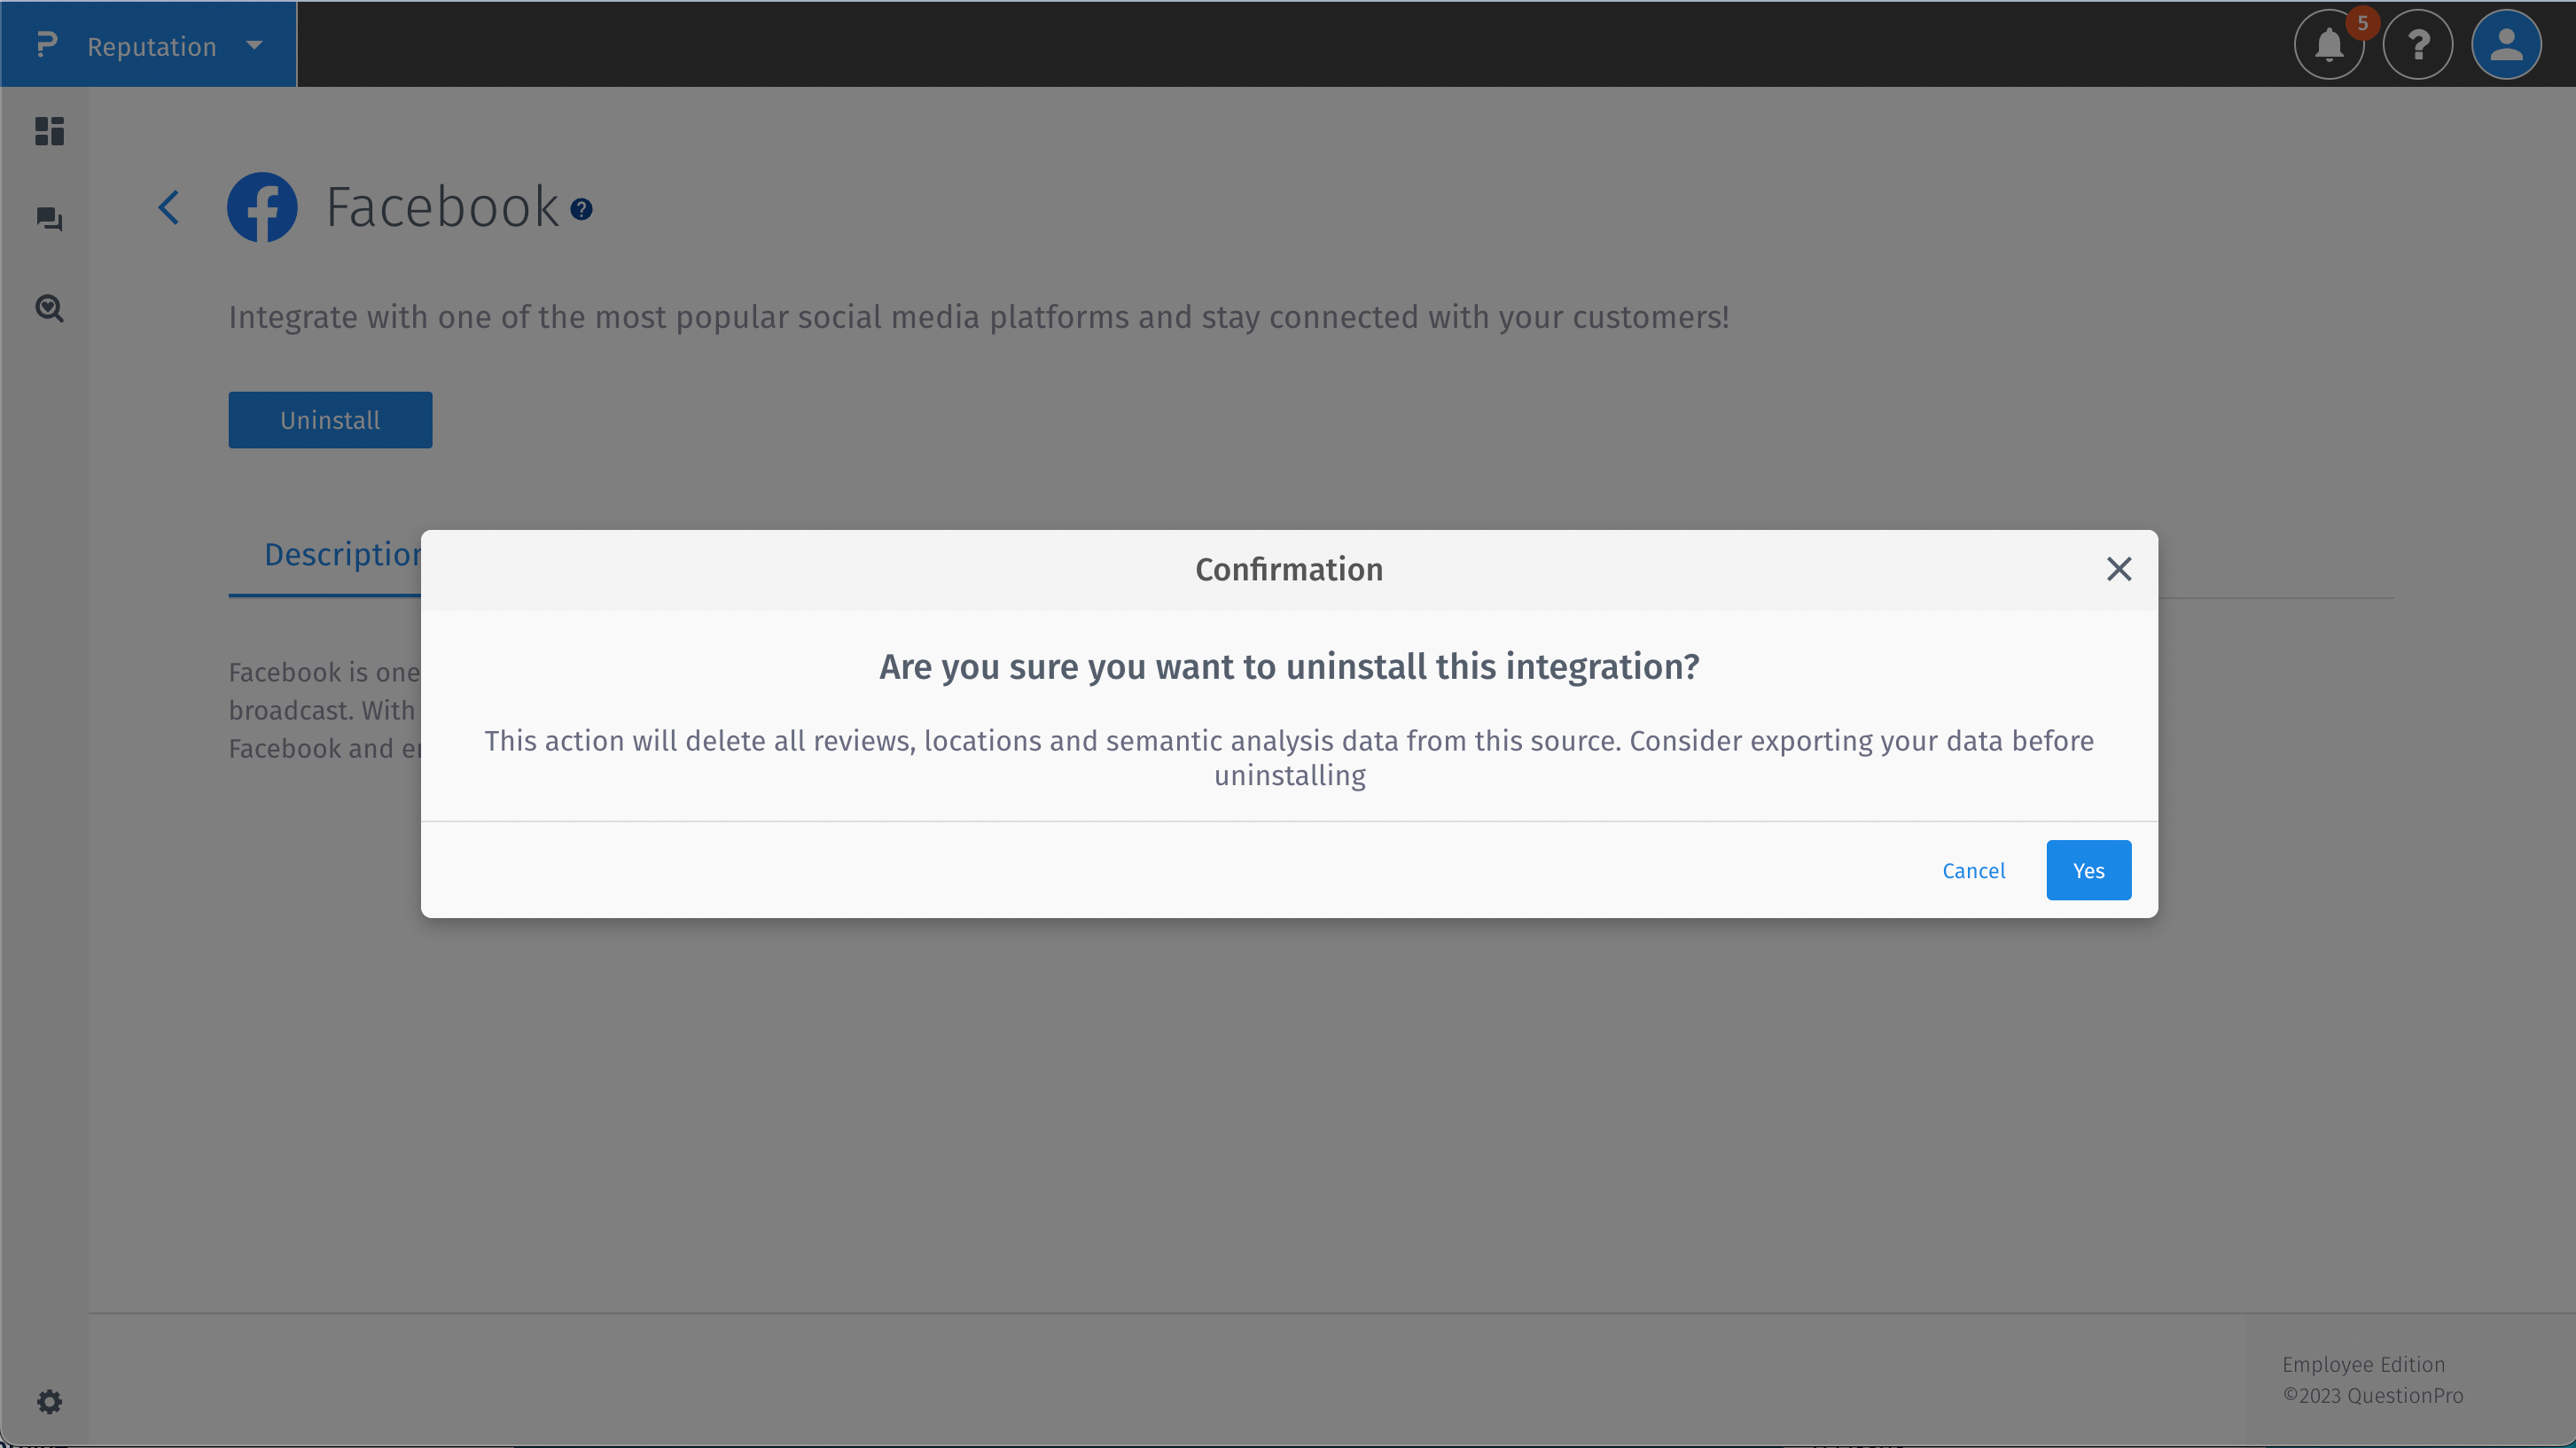
- After clicking the uninstall button, you will be asked if you are sure to uninstall this integration. By clicking the Yes button you confirm that you are sure, and Facebook Reviews integration will be uninstalled.
- A popup that you have uninstalled successfully will appear. Once the integration is uninstalled the data will be deleted, including sentiment analysis data too.


Watch this video for a live walkthrough of the Facebook Reviews integration
You may also be interested in...

